
I absolutely adore this Oreo Stuffed Fudgy Brownies Recipe because it combines two of my all-time favorite treats: rich, fudgy brownies and classic Oreo cookies. I love how the brownies encase the Oreos perfectly, creating a gooey, chocolatey surprise in every bite. Making these has become one of my go-to dessert projects whenever I want to impress friends or just treat myself to something deeply satisfying. The incredible fudgy texture alongside the crunchy, creamy center is simply irresistible.
Why You'll Love This Oreo Stuffed Fudgy Brownies Recipe
I can't get enough of the flavor profile in this Oreo Stuffed Fudgy Brownies Recipe. The deep cocoa taste is intense and luscious, while the Oreos hidden right in the middle add a delightful crunch and creaminess that contrast perfectly with the dense brownie around them. Every bite gives me a little moment of pure dessert joy, and it really feels like an indulgent treat without being overly complicated.
What makes this recipe stand out to me is how straightforward it is to prepare. I’m always on the lookout for desserts that are impressive but don’t require me to spend hours in the kitchen, and this fits the bill perfectly. It only takes about 15 minutes to prep, then you pop it in the oven and let it work its magic. These brownies are absolutely perfect for everything from casual family gatherings to birthday parties, or whenever I just want a quick binge-worthy snack. Honestly, I can’t recommend this recipe enough to anyone who loves fudgy brownies with a fun twist.
Ingredients You'll Need
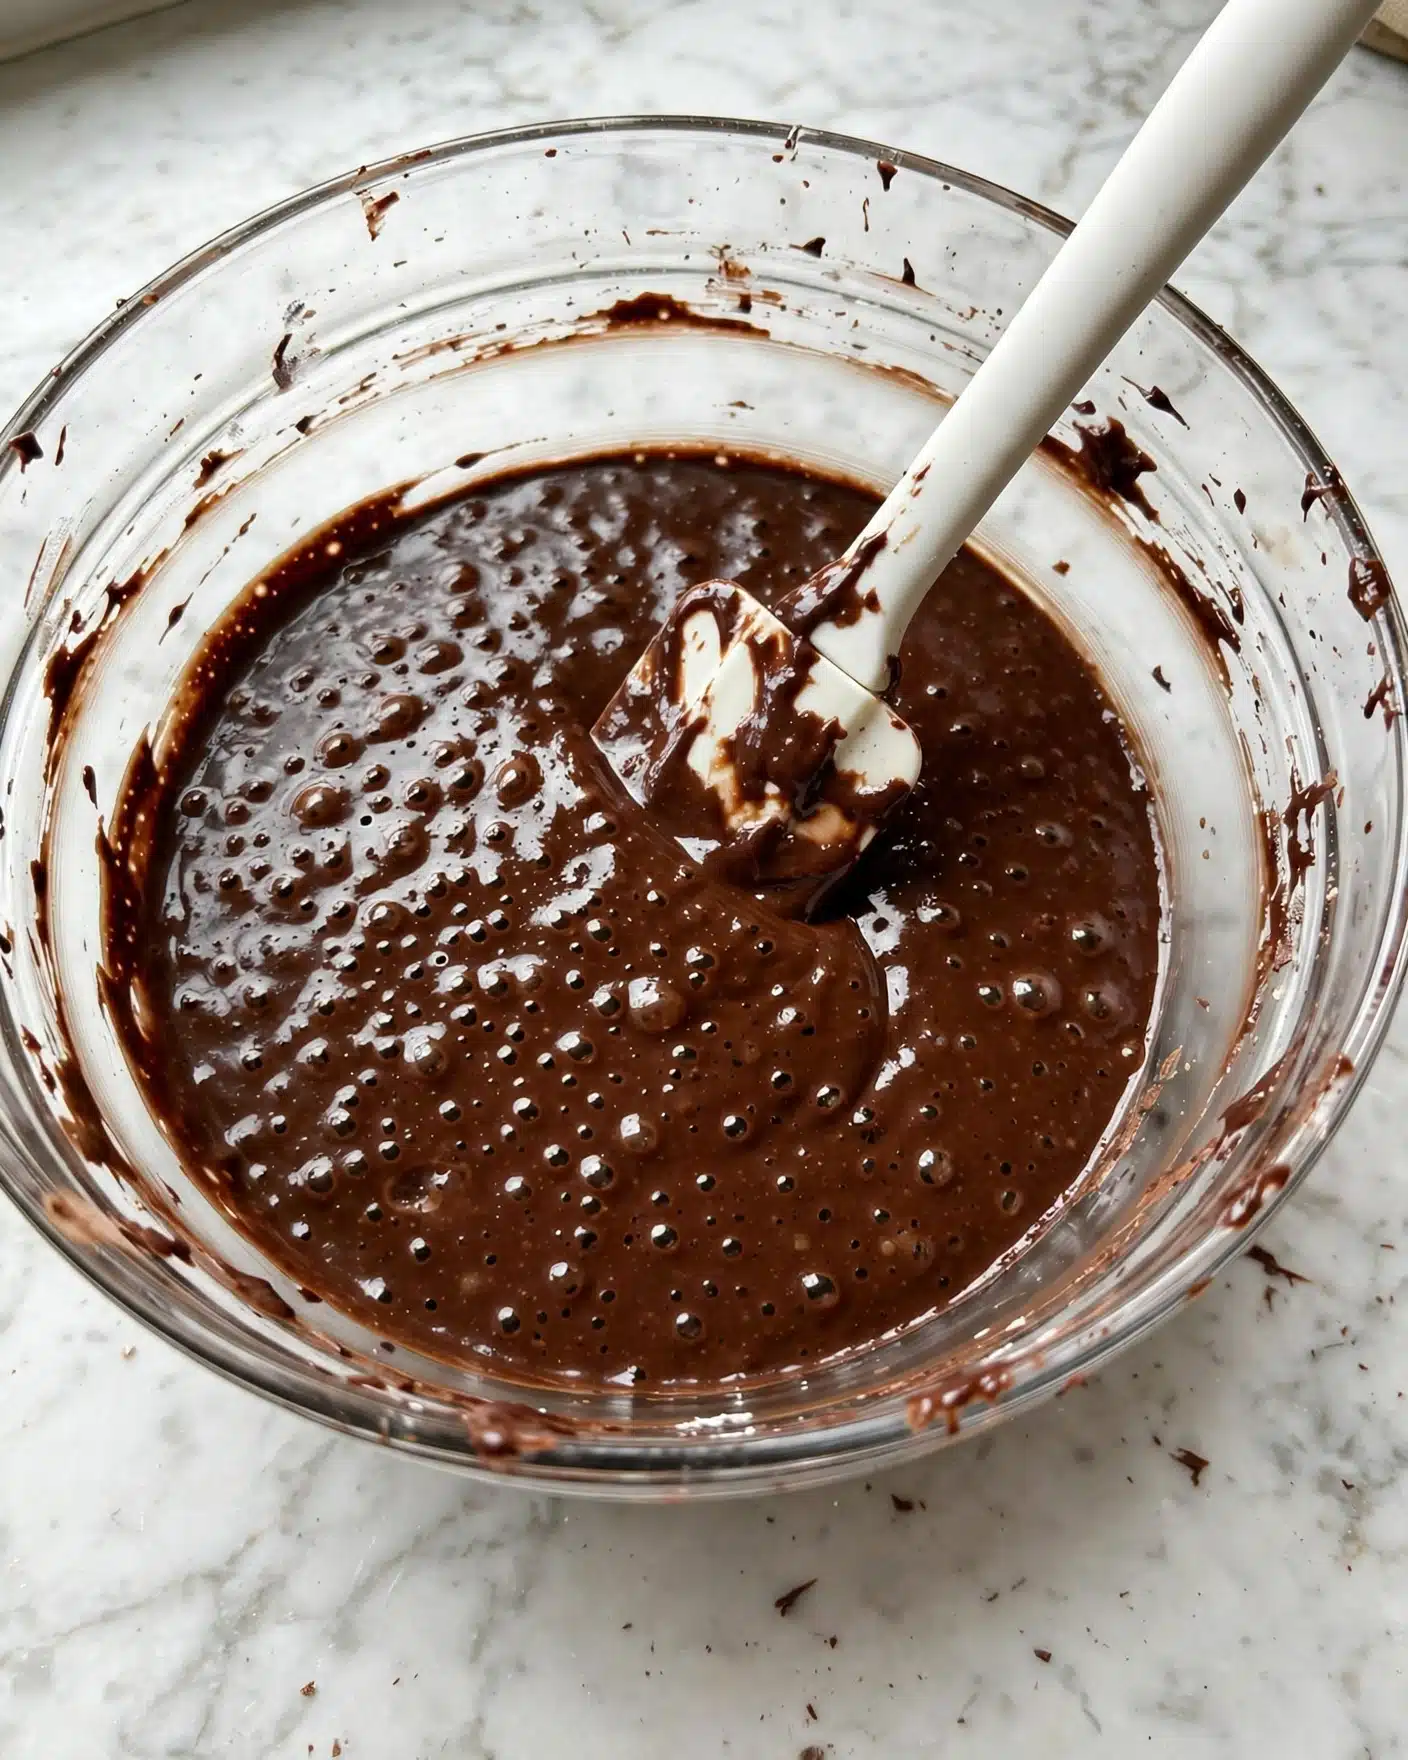
The beauty of this Oreo Stuffed Fudgy Brownies Recipe lies in its simplicity. Each ingredient plays a crucial role in creating that perfect texture and rich chocolate flavor, while the Oreos add the signature crunch and creaminess that make these brownies unforgettable. Using basic pantry staples ensures you can whip them up without a special trip to the store, which I always appreciate.
- Butter and vegetable oil: Their combination ensures the brownies are incredibly fudgy and moist without being greasy.
- Granulated sugar and brown sugar: They add sweetness and a slight hint of caramel depth thanks to the brown sugar.
- Cocoa powder: Provides the rich chocolate flavor that's the foundation of any great brownie.
- Eggs: These bind everything together and contribute to the dense, fudgy texture I love.
- Vanilla extract: Elevates the chocolate notes and adds warmth to the flavor.
- Salt: Just a pinch balances the sweetness and enhances the cocoa's richness.
- All-purpose flour: Gives structure without weighing down the brownies.
- Oreos: The star ingredient—both whole for the center surprise and crushed for the topping.
Directions
Step 1: Preheat your oven to 350°F and line an 8x8 inch baking pan with parchment paper. This ensures the brownies won’t stick and makes for easy removal later on.
Step 2: In a microwave-safe bowl, combine the butter, vegetable oil, granulated sugar, and brown sugar. Melt them together in 30-second intervals, stirring between each, until smooth. Then microwave for an additional minute and stir vigorously. This extra step is what helps melt the sugar completely to create that shiny crinkle top I adore. If you have a hand mixer or stand mixer, use it here to get a perfectly smooth batter.
Step 3: Whisk in the eggs one at a time, making sure each is fully incorporated before adding the next. Then mix in the vanilla extract. The batter should start pulling away a bit from the sides of your bowl—that’s exactly what you want.
Step 4: Sift together the flour, cocoa powder, and salt. Gently fold these into the wet mixture just until combined. Overmixing will mess with the fudgy texture, so take it slow here.
Step 5: Pour half of the batter into the prepared pan, spreading it evenly. Then place the whole Oreos in a single layer centered over this batter. Cover the Oreos with the remaining brownie batter and smooth it out to fully enclose the cookies.
Step 6: Top the batter with the crushed Oreos for a crunchy, textured finish. Bake for about 30 minutes at 350°F. You want the edges to be set but the center still soft—check with a toothpick if in doubt, but it’s normal for these fudgy brownies to be slightly moist inside.
Step 7: Allow the brownies to cool completely on a wire rack before slicing. I usually wait at least 8 hours for the cleanest cuts and to let the Oreo layer settle perfectly between the fudgy layers.
Servings and Timing
This Oreo Stuffed Fudgy Brownies Recipe makes about 16 generous servings—perfect for sharing with friends, family, or your dessert-loving self. Prep time is quick at just 15 minutes, which is one of the reasons I love this recipe so much. The bake time takes approximately 30 minutes, followed by a necessary cooling period of a few hours, preferably up to 8 for the best slicing results. All together, you’re looking at about 45 minutes active time plus resting.
How to Serve This Oreo Stuffed Fudgy Brownies Recipe
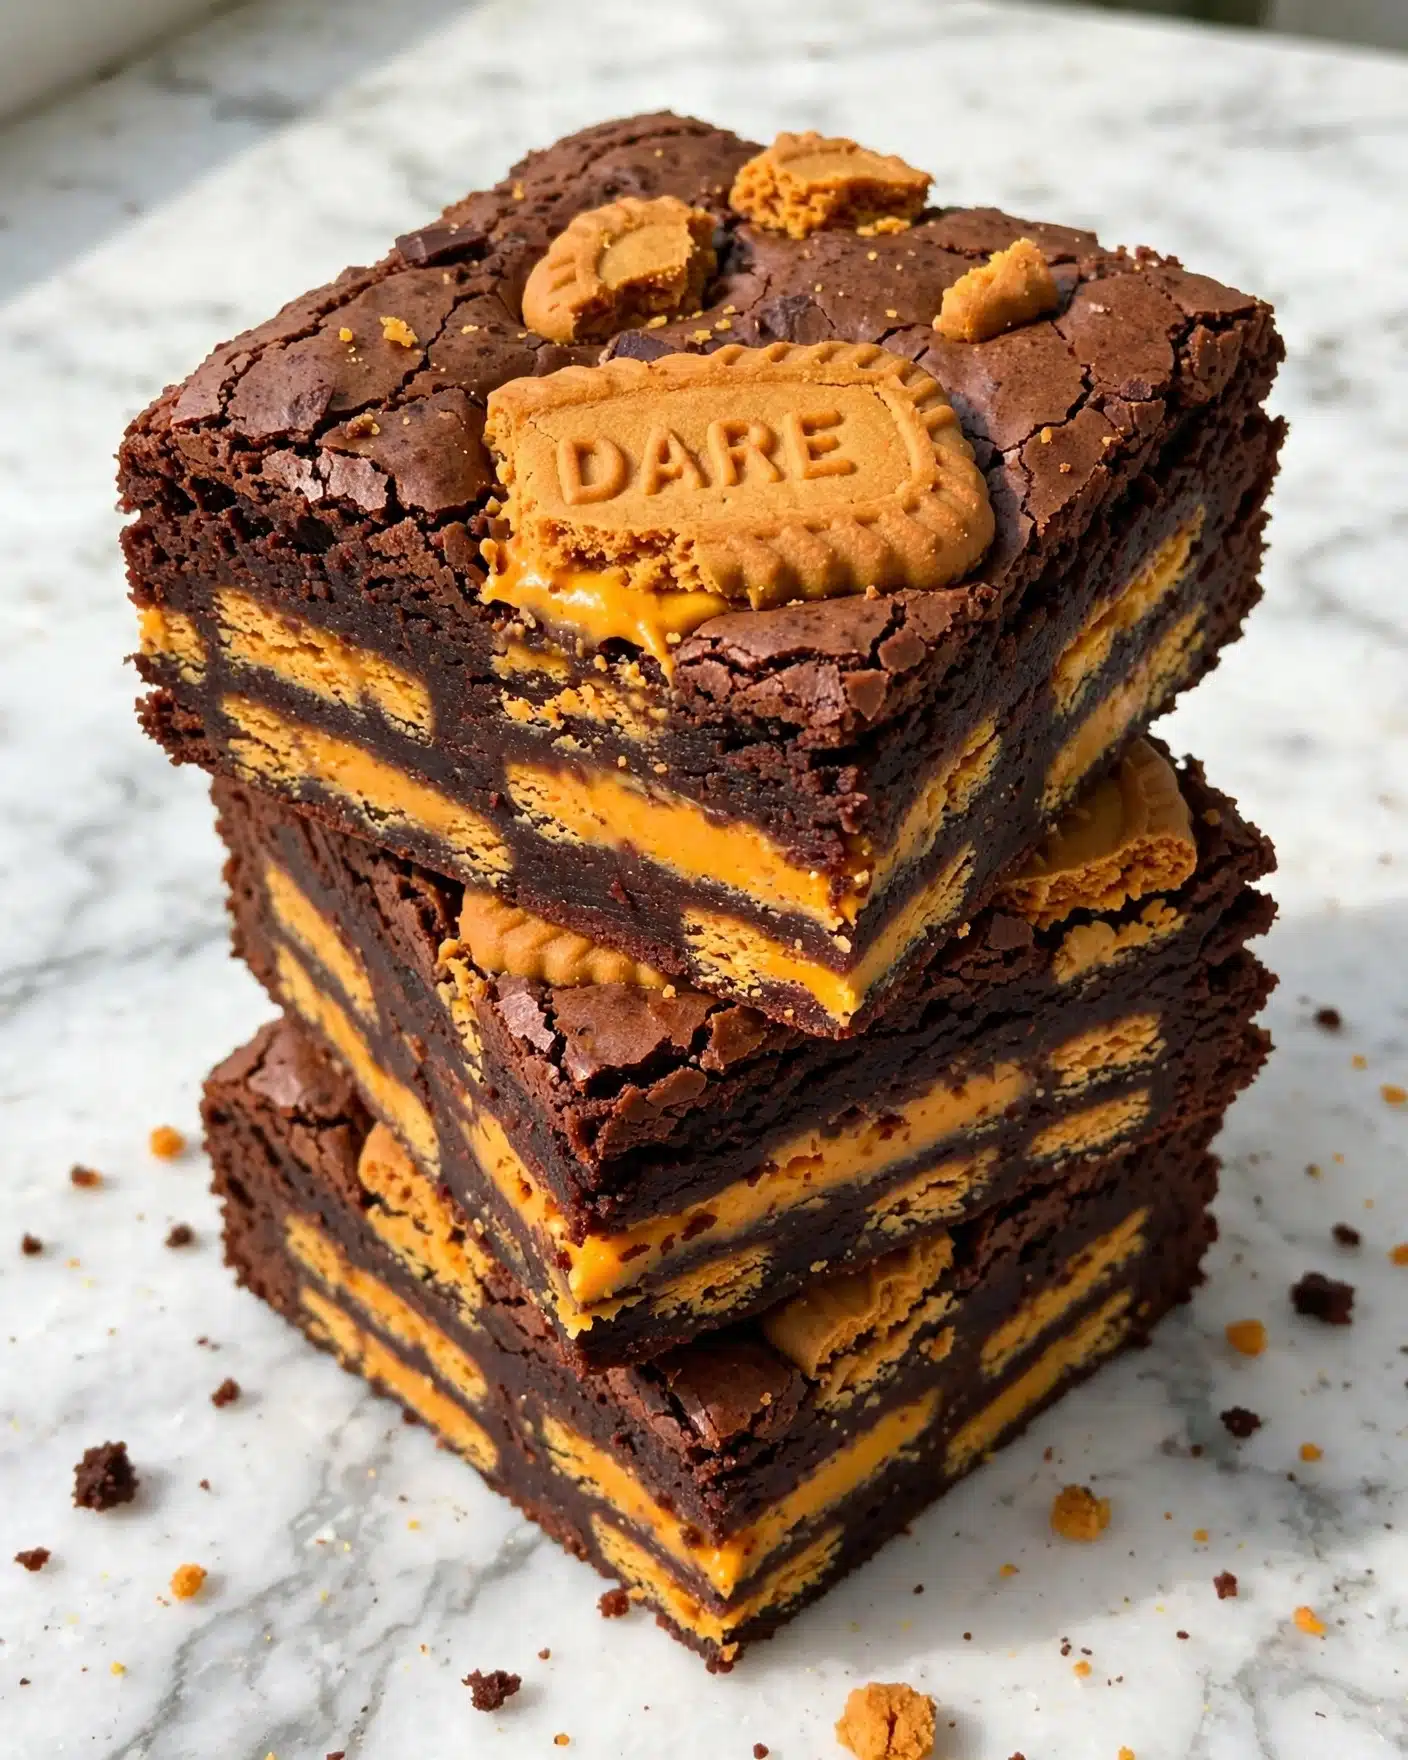
When I serve these brownies, I like to keep things simple so the flavors really shine. They’re fantastic on their own, but I’ve also enjoyed pairing them with a scoop of vanilla ice cream for that classic hot-and-cold experience. A drizzle of chocolate sauce or a dusting of powdered sugar on top adds an elegant touch when I’m serving guests.
For presenting, I cut the brownies into neat squares, using a hot, dry knife to slice cleanly through that Oreo center. Placing each square on a small dessert plate and topping with a fresh mint leaf or a few crushed Oreos really helps the presentation pop. These brownies are perfect for any occasion, from casual afternoon coffee with friends to festive holiday dessert tables.
Beverage-wise, I love pairing them with a cold glass of milk or a cup of rich hot chocolate to complement the deep cocoa flavor. On chilly evenings, serving them warm is just divine; on hotter days, I prefer them cooled to room temperature or even slightly chilled for a firmer bite. No matter how you serve them, these brownies never fail to bring smiles.
Variations
Over time, I’ve experimented a bit with this Oreo Stuffed Fudgy Brownies Recipe to suit different tastes or dietary needs. For a gluten-free version, I swap the all-purpose flour for a 1-to-1 gluten-free flour blend—this keeps the fudgy texture intact without a noticeable difference. If you want a vegan take, replacing the butter with coconut oil and using flax eggs works surprisingly well, plus you get a unique coconut twist!
If you want to switch things up on the flavor front, adding some espresso powder to the batter enhances the chocolate without making it taste like coffee—just a subtle richness that I find addictive. You can also swap the regular Oreos for flavored ones like mint or peanut butter if you’re feeling adventurous. For baking style, try making these in mini muffin pans to create Oreo stuffed brownie bites which are perfect for parties or lunchbox treats.
Storage and Reheating
Storing Leftovers
I store any leftover brownies in an airtight container at room temperature. This keeps them fresh for up to five days and helps maintain that perfect fudgy texture. If you don’t have an airtight container, wrapping them tightly in plastic wrap works just as well. I often keep them on the counter rather than the fridge, as refrigeration can sometimes dry them out a bit.
Freezing
These brownies freeze really well, which I love for saving extras or prepping ahead. I recommend wrapping individual squares in plastic wrap and then placing them inside a freezer-safe zip bag or airtight container. They keep perfectly for up to three months. When I’m ready to indulge, I just thaw them overnight in the fridge or at room temperature for a few hours.
Reheating
To bring these brownies back to life, I usually warm them for about 15-20 seconds in the microwave—this revives their fudginess and softens the Oreo center nicely. Avoid reheating too long to prevent drying. Alternatively, a quick spin in a warm oven at 300°F for 5-7 minutes works great if you want that fresh-baked warmth. Either way, I steer clear of the microwave for too long to keep the texture perfect.
FAQs
Can I use Double Stuf Oreos instead of regular ones?
Absolutely! Double Stuf Oreos will make the Oreo center even creamier and more decadent, but keep in mind this could make the filling a little softer. Regular Oreos give a nice balance of crunch and cream, but Double Stuf is a delicious variation if you want to up the indulgence.
Do I have to let the brownies cool for 8 hours before slicing?
While 8 hours is ideal for the cleanest cuts and the best setting of the Oreo layer, you can slice them after a couple hours if you're impatient. Just be aware the Oreo layer may smear slightly and the brownies could be more gooey. Using a hot, clean knife will help with better slices even if they’re warm.
Can I make these brownies ahead of time for a party?
Yes! These brownies are perfect for making a day or two ahead. Because they need adequate cooling time for optimal texture and slicing, I usually prepare them the night before and store them at room temperature wrapped tightly until the event.
Is it possible to bake this recipe in a larger pan?
You can use a 9x9 inch pan if you want slightly thinner brownies, but the baking time will decrease by a few minutes, so keep an eye on them. Thicker brownies like these are best in an 8x8 inch pan to maintain that fudgy indulgence.
What if I don’t have parchment paper—can I use foil or just grease the pan?
While parchment paper makes removal easiest, you can use foil with a little butter or nonstick spray, or just thoroughly grease your pan. Just be gentle when removing the brownies so they don’t stick or break apart.
Conclusion
This Oreo Stuffed Fudgy Brownies Recipe holds a special place in my heart because it combines childhood favorites into one unforgettable dessert. It’s easy to make, wonderfully chocolatey, and delivers that perfect crunch and creaminess from the Oreos every single time. I honestly think once you try these, they’ll become your go-to brownies for satisfying your sweet tooth or impressing any crowd. Grab your ingredients and treat yourself—you won’t regret it!
PrintOreo Stuffed Fudgy Brownies Recipe
Indulge in these fudgy Oreo stuffed brownies that perfectly combine rich, chocolatey brownie batter with a delightful Oreo center. Each bite offers a gooey, sweet treat with the iconic crunch and creaminess of Oreos, topped with crushed Oreos for an extra layer of flavor and texture. Perfect for dessert lovers looking for a decadent twist on classic brownies.
- Prep Time: 15 minutes
- Cook Time: 30 minutes
- Total Time: 45 minutes
- Yield: 16 servings
- Category: Dessert
- Method: Baking
- Cuisine: American
Ingredients
Brownie Batter
- ⅔ cup butter
- ¼ cup vegetable oil
- 1 cup granulated sugar
- ⅓ cup brown sugar
- ⅔ cup cocoa powder
- 2 eggs (cold)
- 1 tsp vanilla extract
- ½ tsp salt
- ½ cup all purpose flour
Oreo Center and Topping
- 15 Oreos (whole or halved for the center)
- 5 Oreos (crushed for topping)
Instructions
- Preheat and Prep: Preheat your oven to 350°F (175°C). Line an 8x8 inch baking pan with parchment paper and set aside to prevent sticking and ensure easy removal.
- Melt and Mix Sugars: In a microwave-safe bowl, combine the butter, vegetable oil, granulated sugar, and brown sugar. Microwave in 30-second intervals, stirring between each until the mixture is fully melted. Then microwave for an additional 1 minute and stir vigorously to dissolve the sugar completely, which helps achieve a shiny crinkle top on the brownies.
- Add Eggs and Vanilla: Whisk in the cold eggs one at a time to fully incorporate, then stir in the vanilla extract. The batter should become glossy and start pulling away slightly from the bowl edges.
- Combine Dry Ingredients: Add the cocoa powder, all purpose flour, and salt to the wet mixture. Fold everything together gently until just combined to avoid overmixing and maintain the fudgy texture.
- Layer Batter and Oreos: Pour half of the brownie batter into the lined pan and spread evenly. Arrange the 15 whole or halved Oreos in a single layer over the batter. Pour the remaining batter on top and spread to cover the Oreos completely.
- Add Crushed Oreo Topping: Sprinkle the 5 crushed Oreos evenly over the top layer of batter for added texture and flavor.
- Bake: Place the pan in the preheated oven and bake for 30 minutes. Bake until the tops are set but still moist in the center – a toothpick inserted should come out with a few moist crumbs.
- Cool and Serve: Allow the brownies to cool completely on a wire rack for several hours (ideally 8 hours) before cutting. This cooling time ensures the Oreo layer sets and your slices remain clean and crinkle-topped. For clean cuts, dip a sharp knife in hot water and dry it before slicing.
Notes
- Allow the brownies to cool completely on a wire rack before slicing to avoid smearing the Oreo layer.
- The extra minute microwaving and vigorous stirring of the sugar mixture helps achieve the signature shiny crinkle top.
- Use regular Oreos for the best texture; Halloween Oreos work well and avoid Double Stuf.
- For the cleanest cuts, dip a knife in hot water between slices.
- Store brownies airtight at room temperature for up to 5 days, or wrap tightly and freeze for up to 3 months.



Leave a Reply